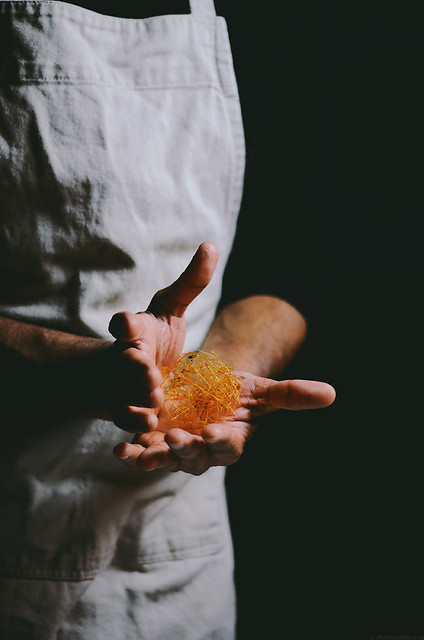
One of the best parts of my mornings is decorating all the different desserts before they get sent out. Desserts can taste spectacular but the garnishes are what really catch the eye and honestly, I feel if you’re spent so much time on preparing something that delicious, it deserves that little extra touch. Dessert garnishes don’t really need to be elaborate but they can make people think you’ve toiled away for hours once you put your sweets out. Spun sugar is probably one of the easiest things to make and it doesn’t hurt that it’s also visually appealing.
Personally, I find spinning sugar fascinating for many reasons. If you think about it, you’re basically, transforming one substance by heating it through various stages to create unique 3-dimensional structures. It’s chemistry and physics at it’s best in the kitchen! You’re literally pulling threads out of a melted sugar drop once it reaches the right temperature to manipulate and fold it into whatever you might have in mind.
The only thing I can’t stress enough on is safety, hot sugar can leave a very nasty burn on your skin. Be safe and careful but have fun!
Here are some of my kitchen tips while preparing spun sugar,
- Set everything up first and make sure everything is dry. Humidity is your enemy. Moisture tends to destroy sugar threads as sugar is super hygroscopic. If you have this problem, I recommend making the spun sugar decorations a few hours before you plan on serving the dessert. Use airtight containers for storage and keep a bag of dry rice in there to absorb any atmospheric moisture that might be trapped in.
- I use the dry method to making toffee without any liquids, it’s faster and easier.
- I learned to spin sugar using the sharpening steel, metal is naturally cold and you don’t need to spray anything with oil or pre-chill. You can also use the handle of a long wooden spoon to spin the threads, just remember to chill the spoon in the freezer for about 30 minutes before proceeding to make the threads.
- Be careful, this sugar is going to be super hot once it has melted and it can give you a nasty burn. So please be extra cautious when working with it.
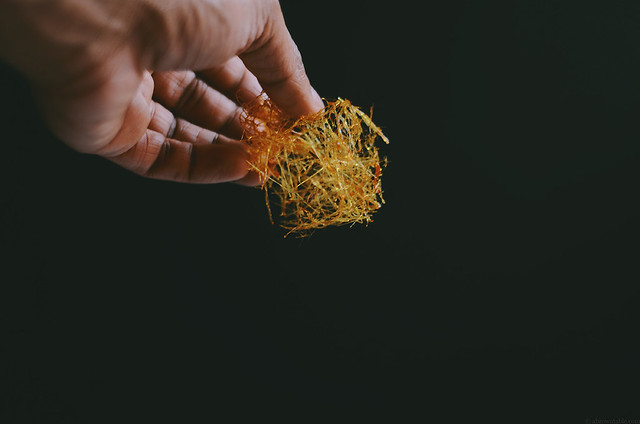
spun sugar balls
yields: I am not giving a total amount here, you can play around with the size and number of threads quite a bit
ingredients
1 cup granulated sugar (you want medium-sized grains)
special equipment:
candy thermometer
knife sharpening steel (clean and dry)
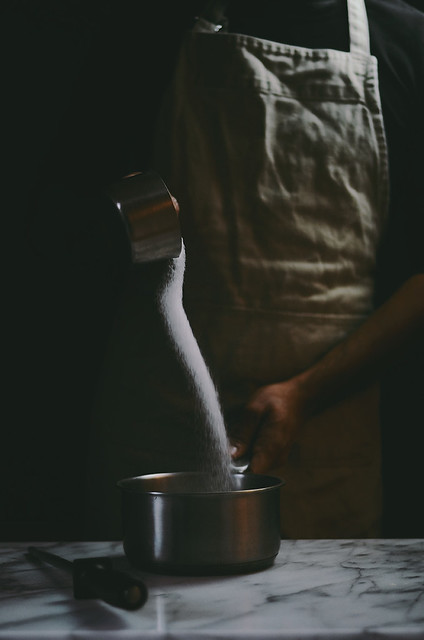
1. Place the sugar in a thick bottomed saucepan with a long handle and heat on medium-high heat. The sugar will begin to melt to form a liquid. Rotate and shake the saucepan a little to move the sugar around to ensure the crystals melt completely.
2. The melted sugar will start to turn brown as it begins to caramelize. Continue to heat until the bubbling liquid has a light caramel color and the temperature reaches 320F.
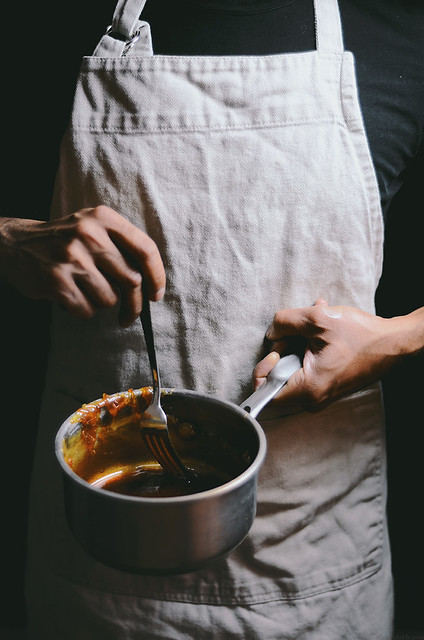
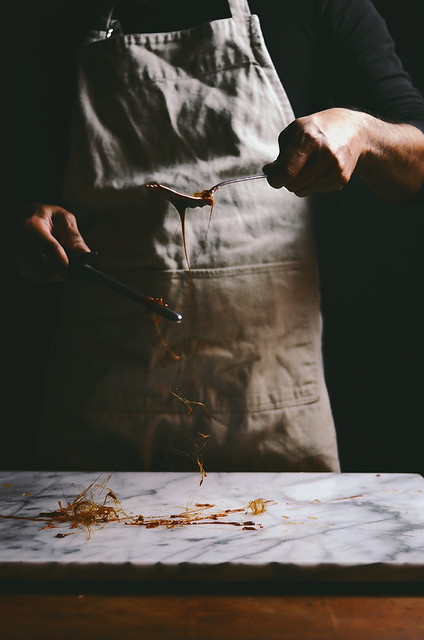
3. Remove the saucepan from the stove and using a large fork start to stir the toffee mixture. Lift the toffee with the prongs of the fork back and forth and you will notice the toffee mixture thicken and begin to form threads as it begins to drip from the prongs of the fork and cools in the air. At this stage, the sugar is ready to be spun. Immediately, hold the sharpening steel in your dominant hand and with the other hand dip the fork back into the toffee over a clean and dry marble surface or a table lined with a sheet of parchment paper. As the toffee begins to drip from the fork, move the knife sharpening steel under the dripping toffee to catch it, threads will begin to form as you move back and forth. Stop once you have enough threads. Gently slide the threads off the sharpening tool and gently shape them in the palms of your hand to form a ball using minimal pressure. Place the ball in a paper cupcake liner and store in an airtight container for up to 2 days.
NOTE: If the sugar cools and hardens and you need to prepare more spun sugar balls, heat the sugar gently once again in the saucepan to melt and reach 320F then repeat the spinning process.


11 Responses
Great tips here! And I’m all about the garnishes. No dessert (or pureed soup) should ever be naked! Have a great weekend.
Beautiful!!!!
Great post.. B/w I’m so scare of working with sugar.. Have burned myself once n that too badly..
But this is so perfect!!
How fun! I’m sure these will get tossed around in our nest like all my children’s balls do. Happy designing!
Wow, this is incredible, Nik! That spun sugar is gorgeous. 😀
This is ah-mazing. Thanks for the helpful directions!
This is mind-blowing! I’ve been following you on Instagram for a while now, and I can’t stay away!
So beautiful, what a perfect garnish!
I used to make spun sugar all the time (why was I more intrepid in the early stages of my blog?). I forgot how much fun it is to watch sugar transform into golden strands. Edible alchemy. 🙂 Stunning photos, Nik! I don’t have anything to garnish yet I’m tempted to spin sugar just for the sake of spinning sugar.
Awesome tips! I’ve always been too intimidated to make something like this at home, but I feel like your tips and your recipe are great guidance. Thanks for sharing!
I enjoyed this post so much, Nik! I love spinning sugar, but I’ve never thought to use my sharpening steel…brilliant! I’ve always just used the handle of a wooden spoon, which is awkward to hold by the spoon end. Your photos are mesmerizing. Thank you for sharing, I just love your blog.
First of all – STUNNING. Second of all, I’m laughing when you say "Spun sugar is probably one of the easiest things to make" because many years ago, my friend and I tried to make spun sugar balls (without a thermometer) and ended up making burnt spun sugar balls that tasted TERRIBLE. We still joke about our inability to spin sugar. I haven’t tried again, but maybe I will now that I’ve got your tips!