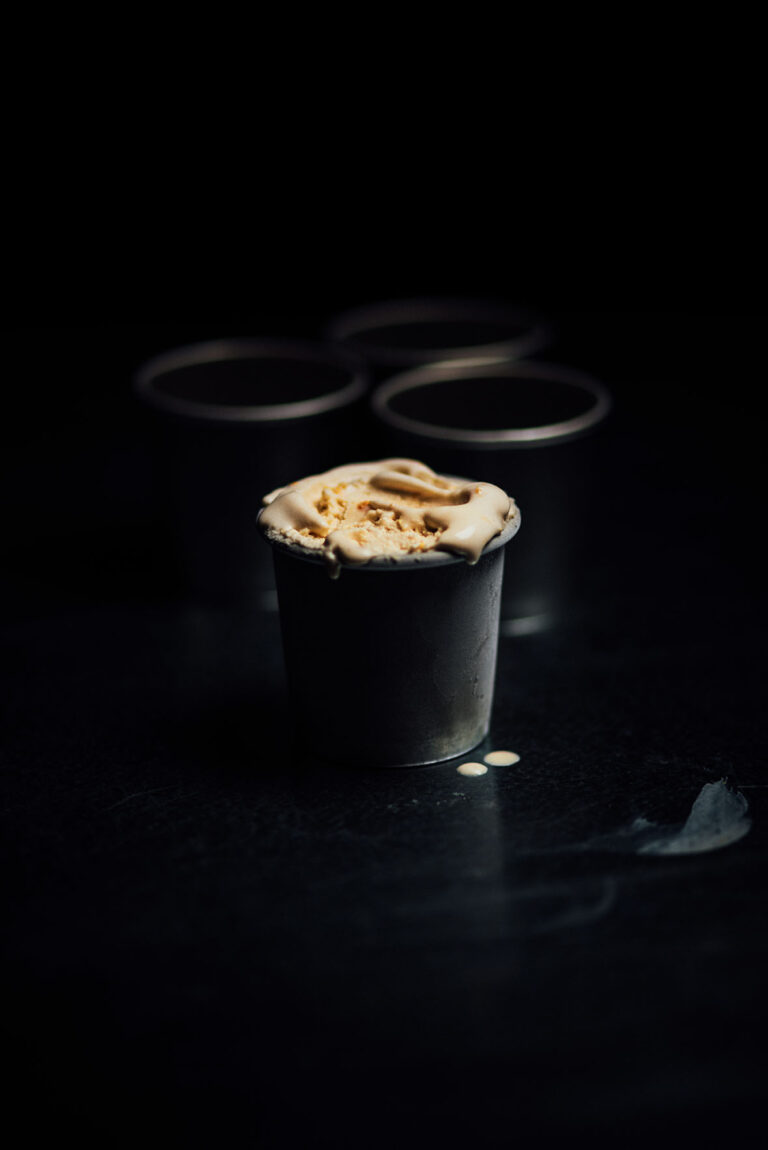
Ingredients
3 to 4 large/455 g blood oranges
3/4 cup/180 ml half-and-half
1 cup/200 g sugar
2 whole star anise pods
6 yolks, from large eggs
2 1/2/600 ml cups whipping cream
Two 3 in/7.5 cm rosemary sprigs (the stems should be young and not woody)
Instructions
- Wash the oranges under warm water and gently wipe them dry with a kitchen towel. Cut thin strips of orange peel from two oranges using a citrus peeler (avoid the bitter white pith under the peel).
- Put the peel in a non-reactive stainless-steel saucepan with the half-and-half, star anise, and sugar and heat over medium-low heat until it just starts to bubble. Remove from the heat, cover the saucepan with a lid and let the liquid steep 15 minutes. Remove and discard the peels and star anise pods.
- Return the saucepan to the stove and heat over medium-low heat. Whisk the egg yolks in a bowl and pour 1/4 cup/60 ml of the hot liquid mixture into them slowly, constantly beating so the eggs don’t scramble. Pour back into the pan, bruise the rosemary with a knife and add it to the mixture, set over low heat to cook, stirring constantly, until the mixture thickens and coats the spoon. Strain the mixture using a fine mesh sieve set over a bowl and discard the rosemary.
- Using a zester, grate the zest of the remaining oranges and add to the custard. Fold with a silicone spatula and allow to stand for 5 to 10 minutes.
- Fold in the cream.
- Juice the oranges, strain the liquid, and discard the pulp.
- Add 3/4 cup/180 ml of the juice to the custard. Fold with a silicone spatula to combine.
- Pour the ice cream base into the canister of your ice cream maker and prepare as per the manufacturer’s instructions. Alternatively, if you don’t own an ice cream maker, transfer the ice cream base to a metal container and cover it with cling wrap. Freeze the mixture for 2 hours or until it begins to firm up. Remove from the freezer, unwrap, and crush the ice crystals using a fork or immersion blender. Alternatively, transfer to a blender or food processor and pulse to break the ice crystals. Cover with the cling wrap and refreeze. Repeat three to four times at 30-minute intervals until the mixture turns soft but frozen. Freezing times will vary depending on the refrigerator.
- Cut a piece of parchment paper and press it down on the surface of the ice cream and freeze the ice cream in an airtight container for at least 4 hours to firm up before serving.
Notes
- Use a citrus peeler or a zester. The citrus peeler will help you obtain long strands without grabbing the bitter white pith. The zester will give you a fine shaving of the peel.
- It seems necessary but there is strategy here. Stick with me. The longer citrus peels are used for the infusion and then discarded. The finer shaving added at the final stage is incorporated into the ice cream and eaten.